Mark Zuckerberg started Facebook in 2004 with an aim to bring friends closer to each other by letting them share what their life is after college hours, what they like, what they hate, where have they been or what are they upto the coming holidays. It helped people find friends with similar interests, ideas, passion, jobs and even hobbies. Facebook made communication with like minded people easy and a breeze. Nowadays anyone who owns a computer or a mobile device is on Facebook. The main aim of Facebook was to help friends connect with friends no matter where they live or where they are. Mark Zuckerberg was of the opinion that people should share more and more about themselves on Facebook and make it an open place which raised many questions over Facebook’s privacy settings. By default Facebook settings are not strictly secure and you might not even be aware how much of your information can be viewed by people all over Facebook and the Internet because Facebook even allows search engines to index and let people search your profile by default. So its important every Facebook user should secure their Facebook profile. Below are the steps to ensure upmost security for your Facebook profile.
Why reviewing Privacy Setting is important?
Every time Facebook updates itself it makes some changes in the privacy settings without user’s consent. The recent updates of Facebook changes various privacy setting options and most of the these settings made your user profile publicly visible. The major update of Facebook which is the ‘timeline’ update made more and more statuses to be posted on your timeline. To protect your facebook profile from intruders and unwanted people you should review below Facebook privacy settings.
Follow these steps to secure Facebook Profile :
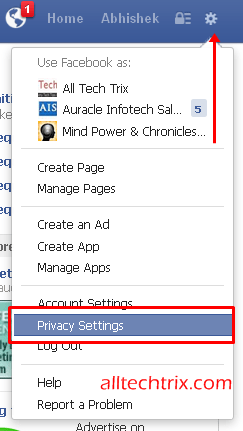
1. Click on the ‘Gear/Setting’ Icon sitting at the top-right corner of your Facebook Profile. From there click on ‘Privacy Settings’.
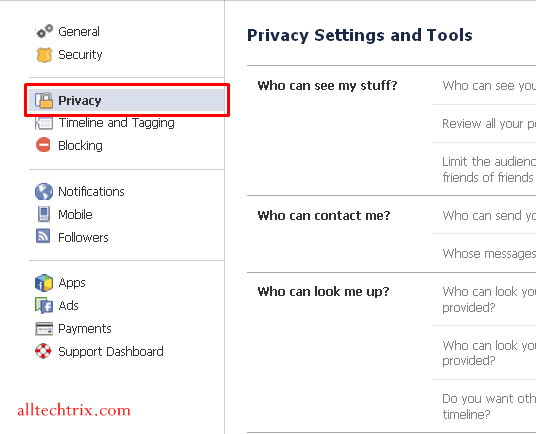
2. Inside ‘Privacy Settings’, the ‘Privacy’ will be open by default.
3. Inside ‘Privacy’ Tab make the settings that I’ve made to make your Facebook profile secure.
I will explain what the above settings does
| I. | In the first setting make your future posts to be seen only by your ‘friends’ which will disable any unknown user knowing what you’re upto. This will hide all your future posts from users who aren’t your friends. |
| II. | In the 2nd block user can control who can message them. Setting it to only Friends of Friends blocks unknown user to spam you or ever contact with you. Strict filtering the messages you want to see in your inbox allows only messages from friends to be displayed in your inbox. Recent facebook update allowed friends of friends to chat with you; this setting will keep those messages in Other folder. |
| III. | The third block displays setting like who can see your email or phone number. Set email to friends of friends and phone number to only friends to avoid spam messages and emails. Disabling search engine to not find you make your profile more secure. |
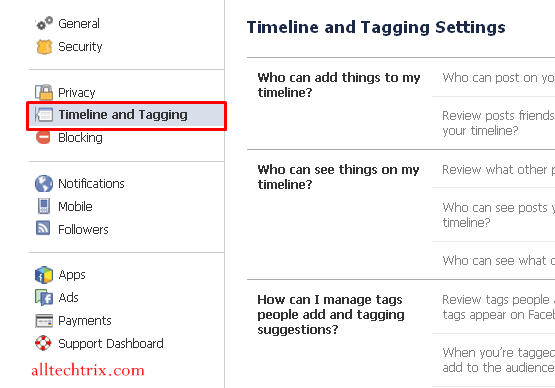
4. Click on the ‘Timeline and Tagging’ tab in left to view its settings.
Clicking on ‘Timeline and Tagging’ will display various settings which are explained below :
| I. | To reduce clutter and spam allow only your friends to post on your timeline. And review every post your friend tags you in so you don’t allow images to be displayed on your timeline you wouldn’t want to be associated with. |
| II. | For the second block allow only friends of friends to see whats on your timeline. If you’re not comfortable with it you can even set it to only friends. This will allow only ‘friends of friend’ or only ‘friends’ (if you’ve set it so) to view whats on your timeline. |
| III. | The third block controls the setting for reviewing, managing and suggesting tags. Allow yourself to review the tags people make on your post; this will not allow any unknown person to be tagged in your post and view it. The other items you can leave it as ‘friends’ for default. |
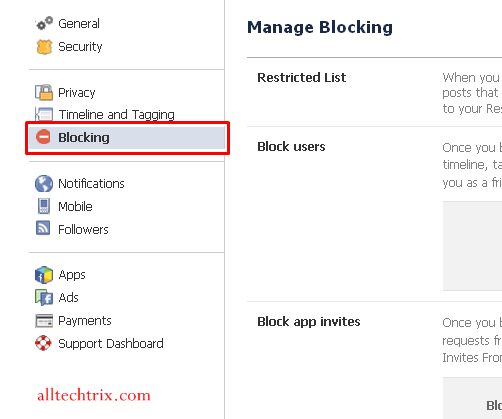
5. Select ‘Blocking’ tab to block unwanted users, apps, apps and event invites.
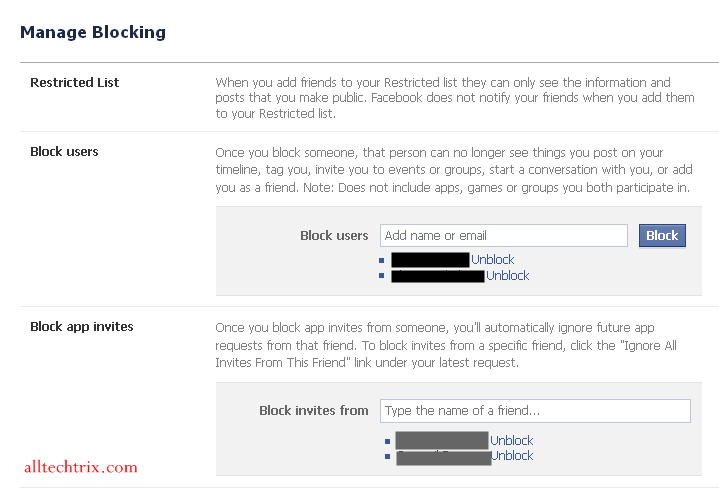
Every option inside ‘Blocking’ tab in explained below :
| Restricted List | If you have a friend(s) on Facebook with whom you don’t want to share your posts and information you can add them to restricted list. People added in the restricted list can only see the post that you make ‘public’. And don’t worry they won’t be notified when you add them to the list. |
| Block Users | Just as the name says it allows you to block people you don’t want to see or hear from again either they be your friends or not. Blocking user make both of your profile invisible to each other which means the blocked user cannot search or contact you and neither can you. |
| Block App Invites | This option allows App Invites from particular user. Suppose if your friend Mr. X sends you multiple app invite you can add his name here and Facebook will block every app invites from Mr. X. |
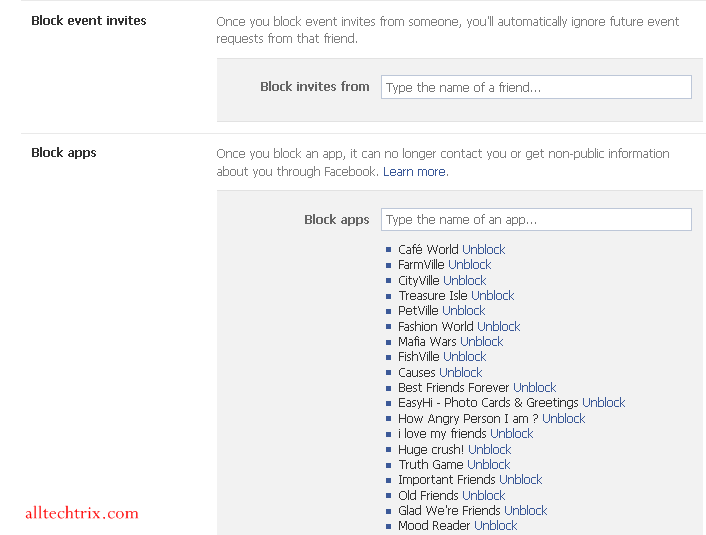
| Block Event Invites | This option simply allows you to block unwanted events from a user which you might never attend. |
| Block Apps | Block every app that your friend is going to annoy you with by sending app invites. Type the name of the app you want to block and you will never hear from it ever again. |
Important: Every setting shown in this post might not apply to every single person on Facebook; the above setting are most secure, has low visibility and applicable only if you want to share your profile with limited friends. If you’re an entrepreneur, advertiser, small business you might need to tweak your settings to get maximum exposure.
This was it for how to keep your Facebook account secure. If you have any suggestions, thoughts or do not agree with the post let us know in the comment section. AllTechTrix loves to hear from its readers.